


Here are your free files, hand-cut or digi-cut (Silhouette):
BasketinaBag.pdf
BasketinaBagBag.pdf
BasketinaBag.studio3
BasketinaBagBag.studio3


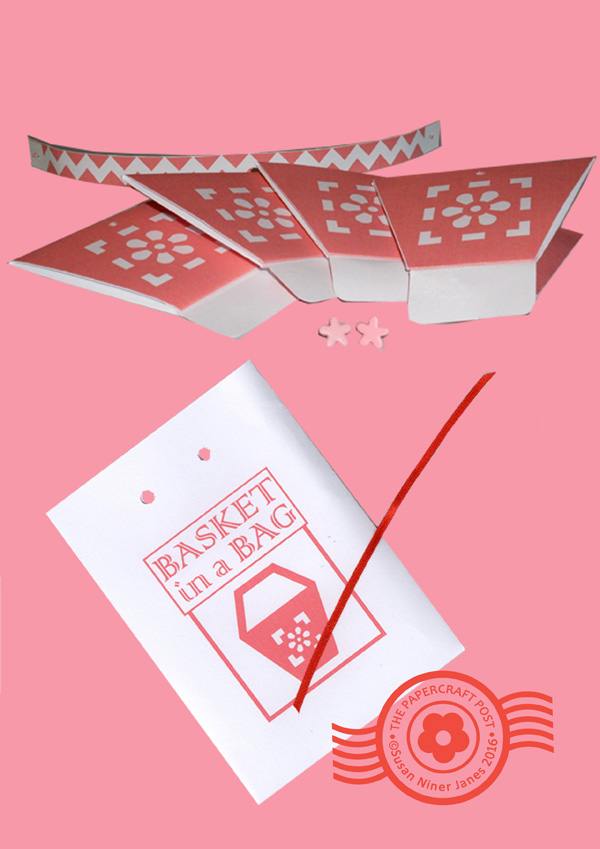
The basket sides are partially assembled - and folded compactly - before placing in the bag. Crease the folds and stick the base flap, making a channel. For each basket, you need two sides with handle holes, two without. You also need the handle (two contrasting strips, glued or d/s taped back-to-back) and two brads. The base liners are optional.
To assemble the basket, slide the tab into the channel of the the adjacent side. Alternate the sides with the handle holes with the plain sides. To make the basket base, fold down the bottom flaps consecutively, tucking the last side under. Attach the handle with the brads. You can pop in a base liner as a decorative feature.
To seal the bag, you can use a 20cm (8in) strip of 3mm (1.8in) ribbon or the narrow paper strip provided.
I prefer the cut-out version of the basket - much more elegant. However, for a super-easy basket, no need to cut out the motif.
The baskets can be disassembled just as easily as they are made. If you want to make the basket permanent, glue a base liner onto the basket bottom. (You will have to glue on the base liner as a reinforcement if filling the basket with heavy contents. You can glue a base liner inside and outside, if required.)
You can post these baskets along with Easter - or birthday cards.

No comments:
Post a Comment